To totally unlock this section you need to Log-in
Login
BlueJ is an integrated development environment (IDE) for the Java programming language, developed mainly for educational purposes, but also suitable for small-scale software development. It runs with the help of JDK (Java Development Kit). Java is a programming language and a platform which works on BlueJ.
BlueJ was developed to support the learning and teaching of object-oriented programming, and its design differs from other development environments as a result.
The main screen graphically shows the class structure of an application under development (in a UML-like diagram), and objects can be interactively created and tested. This interaction facility, combined with a clean, simple user interface, allows easy experimentation with objects under development. Object-oriented concepts (classes, objects, communication through method calls) are represented visually and in its interaction design in the interface.
Start BlueJ by either clicking on the icon you created when you downloaded and installed BlueJ. You can alter some of the defaults for BlueJ my modifying the file called bluej.defs with a text editor: this file is located in the lib directory in the bluej folder. You can also modifying the template that starts when creating new programs and classes. The template is stored in the lib -> english -> templates -> newclass folder.
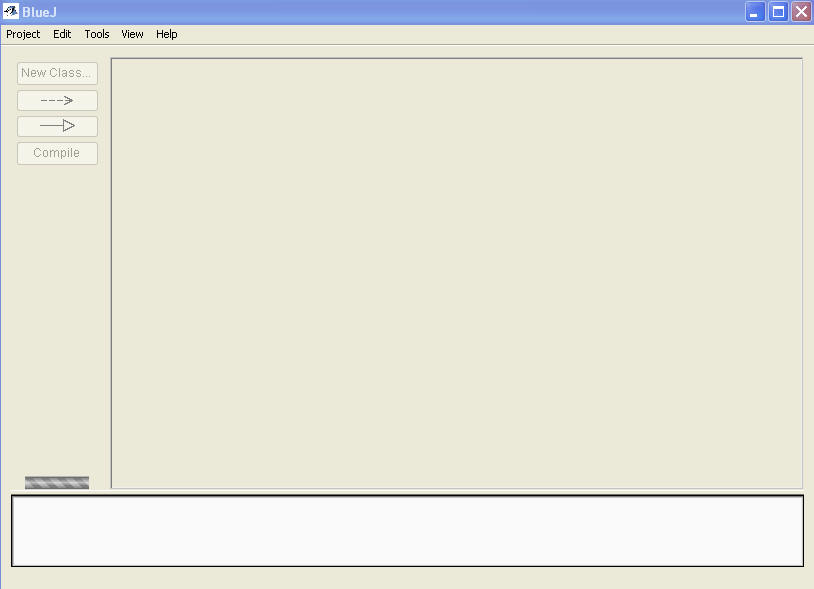
When BlueJ is up and running you should see a window that looks something like this:
To create a new program you first need to create a new project. Click on the Project menu and select New Project.... This opens a new window.

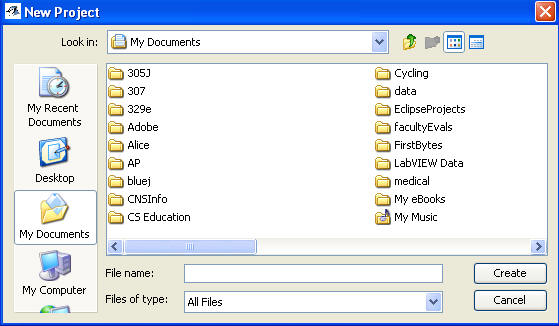
From this window type in the name of the new project in the text field File name. The name of the project does not have to be the same as the name of the java file you will later add to the project. It can be anything you want. After giving the new project and name and clicking Create you see the new project.
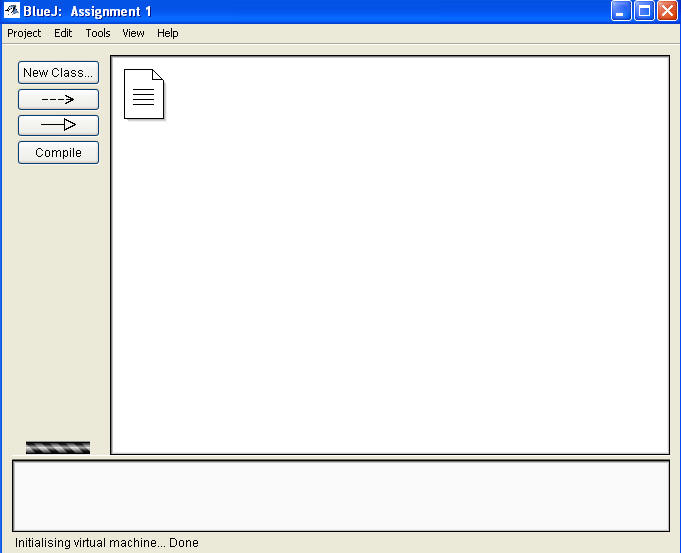
There aren't any classes, which are the basic building blocks of programs in Java, or code associated with the project yet. The icon that looks like a piece of paper is just a simple text file that acts as the projects ReadMe file. You can double click on it to add comments about the project as a whole or write notes to yourself on things that need to be done. You probably won't use it much at first.
If you need to add any pre-existing classes to the project now is a good time to do that. On the first assignment you need to download and add then, for example, add the DrawingPanel.java class to your project. To add the existing file to the project click on the Edit menu and then select Add Class from File....
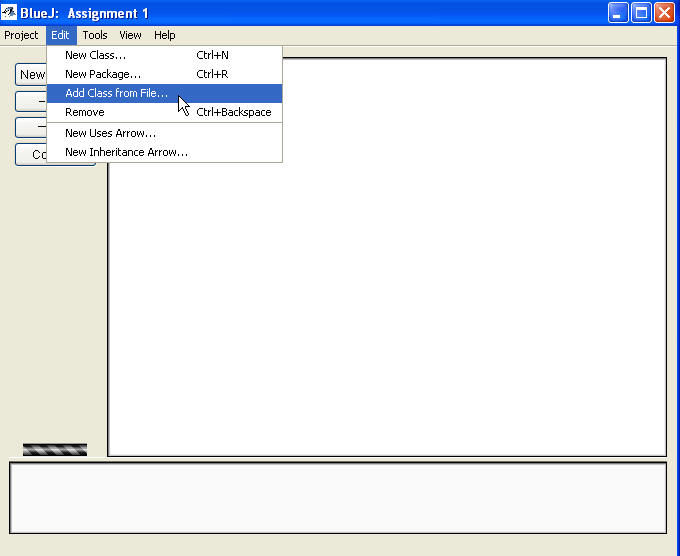
A new window pops up that allows you to navigate to the correct directory and select the file you want to add. Only files that end in .java are shown.
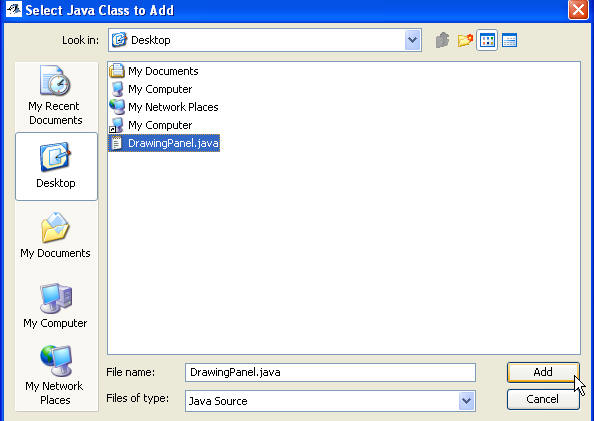
Navigate to the directory that contains the file or files you want to add. If you want to add a single file, click on it and then click on the Add button. If you want to add 2 or more files from the same directory hold down the CTRL key and click on all the files you want to add, then click on the Add button.
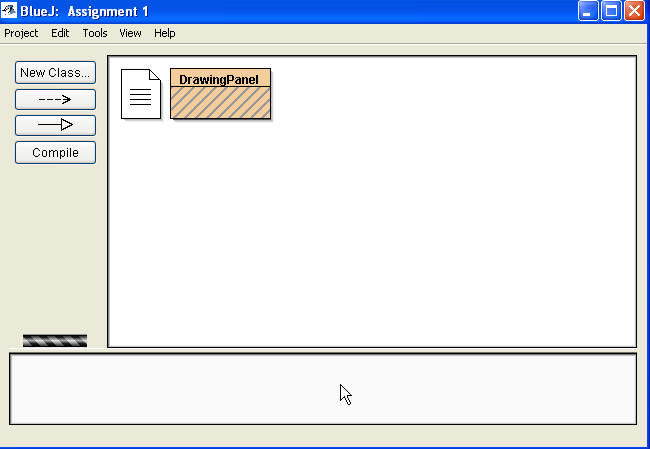
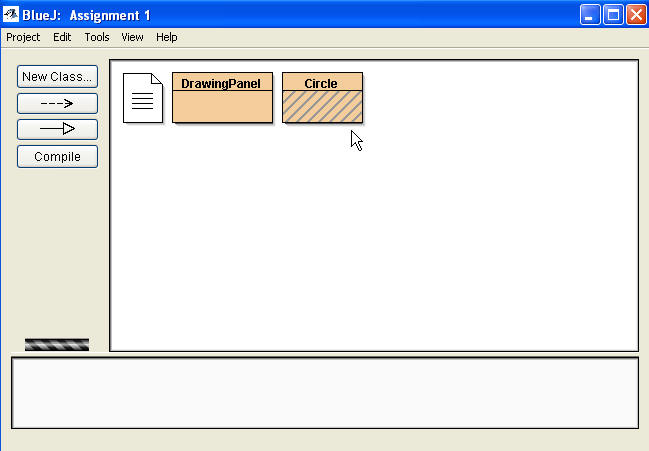
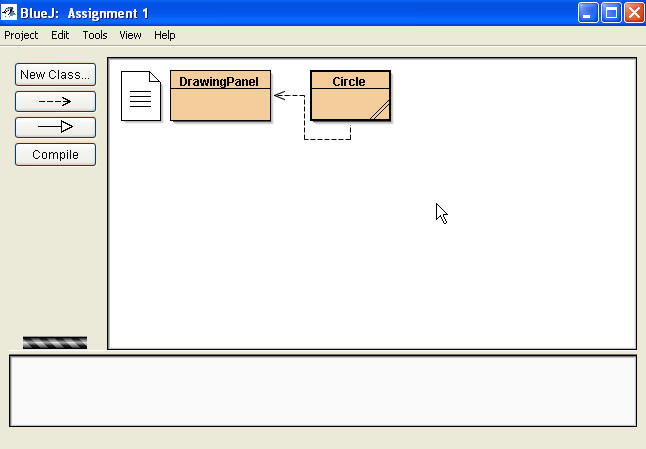
Now the new file / class has been added to the file. It shows up with diagonal lines because it has not been compiled yet.
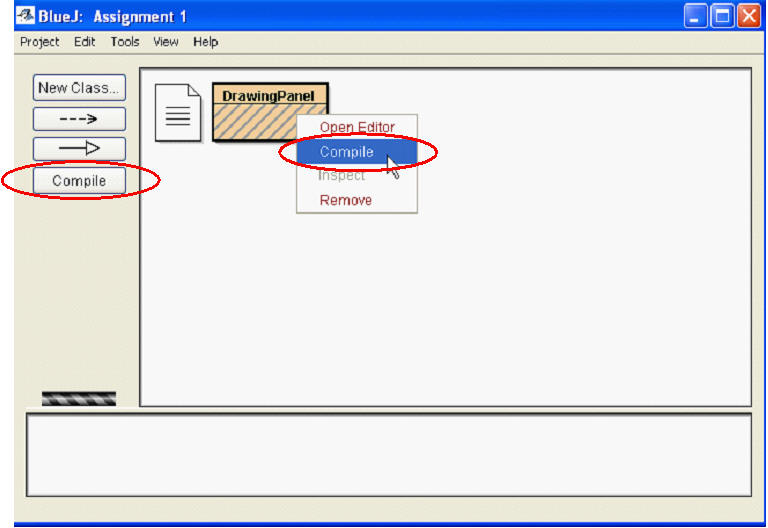
To compile a class that is part of a program you can either click the Compile button on the left side of the window or right click on the icon of the class and select the Compile option from the pop up menu.
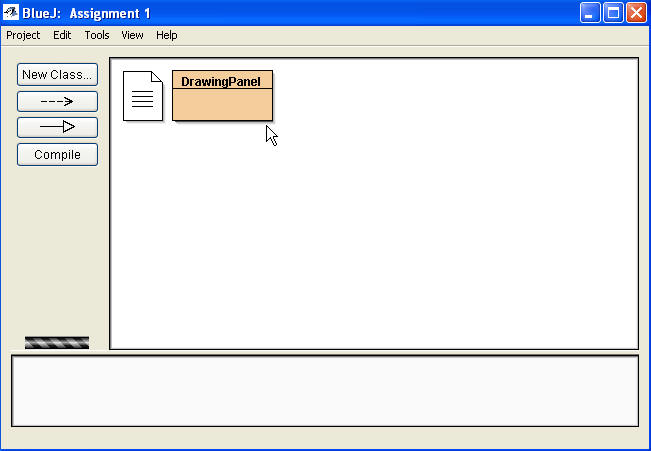
If the class does not have any syntax errors it will now be shown without any diagonal lines on its icon.
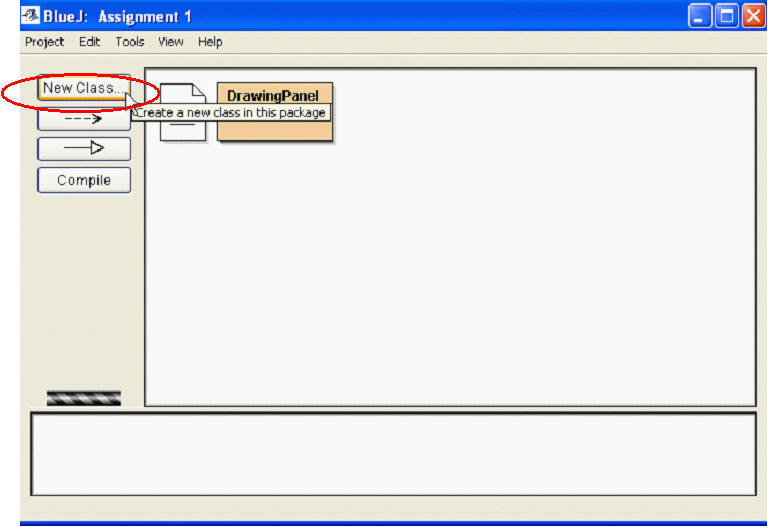
To add a new class to the project click on the New Class button.
A menu pops up asking for the name of the class. For example, the name could be Circle.
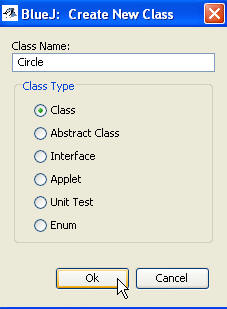
Ensure the Class radio button is selected, type in Circle for the Class Name and click the okay button. A new class is added to our project.
To edit the code in a class double click on its icon. This opens an editor window which is very like a simple word processor.
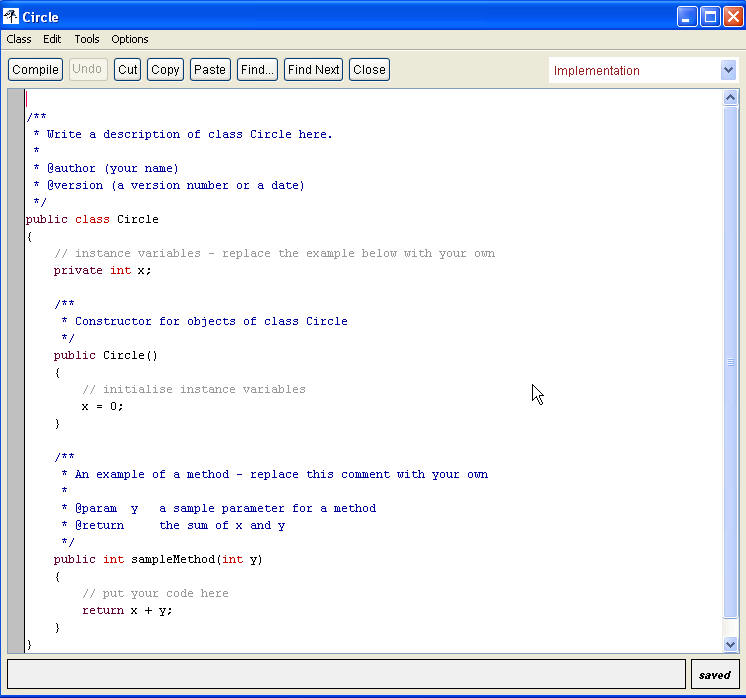
Select and delete the default code in the class.
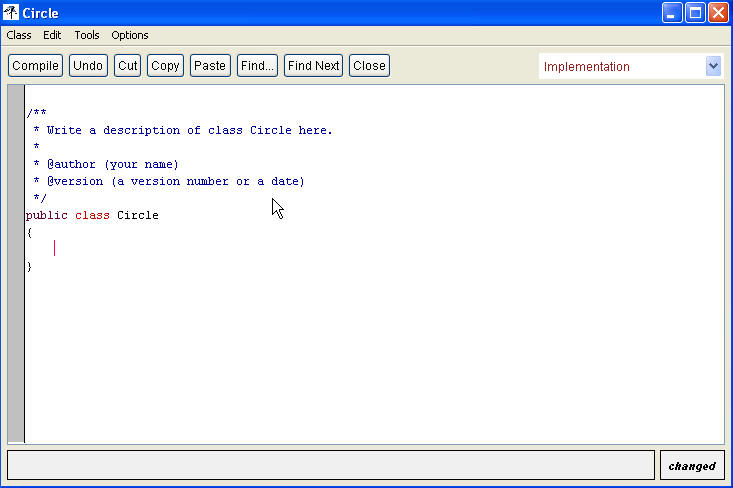
Type in the changes to the program. You save the program by clicking on the Class menu and selecting Save. You can attempt to compile the program by clicking the Compile button. Any errors will show up in the text area at the bottom of the edit window. If an error occurs the line the error is on is highlighted in yellow. After compiling the program and getting it to work close the editing window w and go back to the project window. The program / class icon no longer has diagonal lines across it.
To run the program right click on the icon that has the main method in it. IN assignment one, this is the Circle class. This brings up a menu that allows you to carry out various actions. (You could also compile classes here.) Select the menu option void main(args). This causes the main method of the class to be executed.
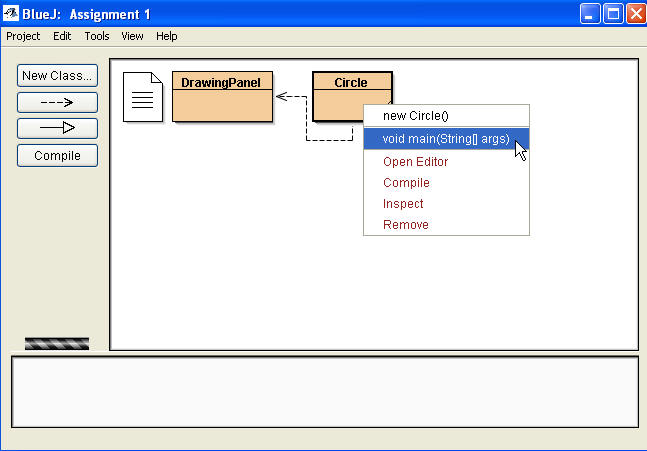
Another menu pops up that asks what parameters or information you want to pass to the method, in this case main. In this class we won't normally pass any information to method main so just click Ok.

This causes the program to run.
 |  |