A lot of people who install Windows Server 2008 for the first time, including both 32 bit and 64 bit versions, find it deprived of the graphical flamboyance. In this post we will tell you how to enable Windows Aero on Server 2008.
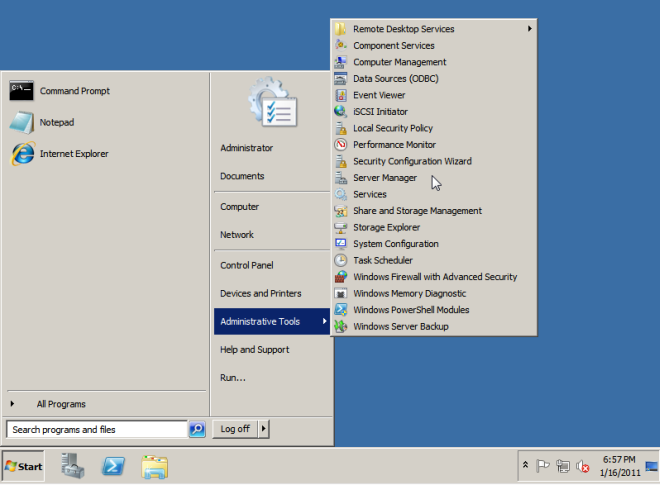
Go to Administrator Tools from the start menu and select Server Manager.
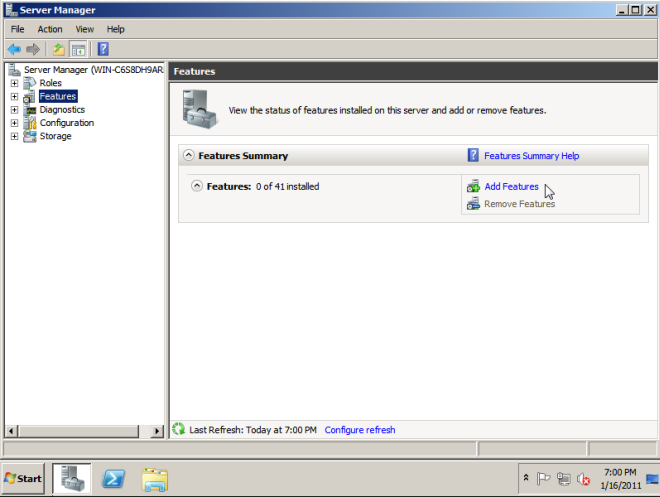
Click on features in Server Management and select Add Features.
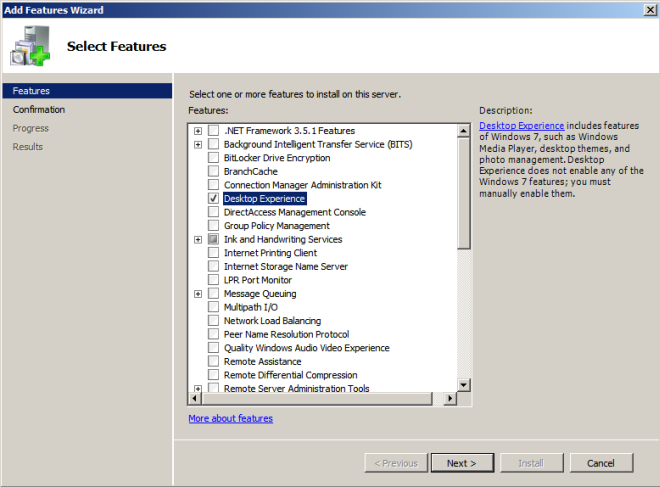
Choose Desktop Enhancement from the menu and click Next. You can also select other desired features to add from this section, e.g. Net Framework 3.5.1.
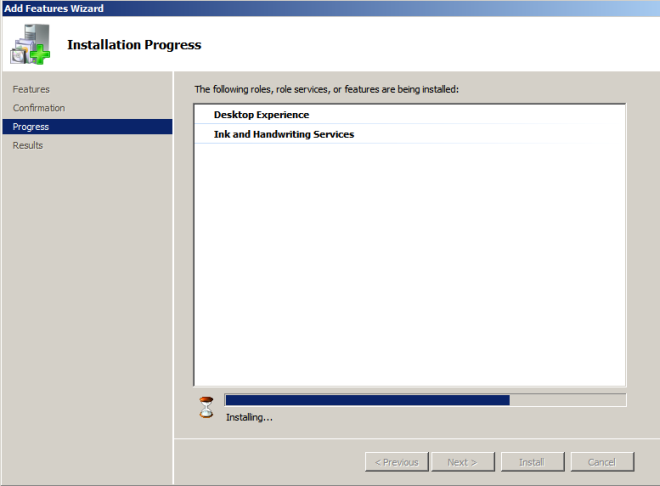
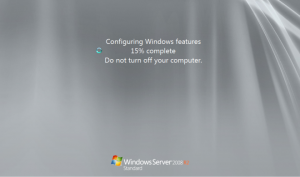
This will install your desired feature(s) and prompt for a system restart for the configurations to take effect.
The selected updates will be installed on Server 2008 after restart.
Next, select Administrator Tools from the start menu and click on Services.
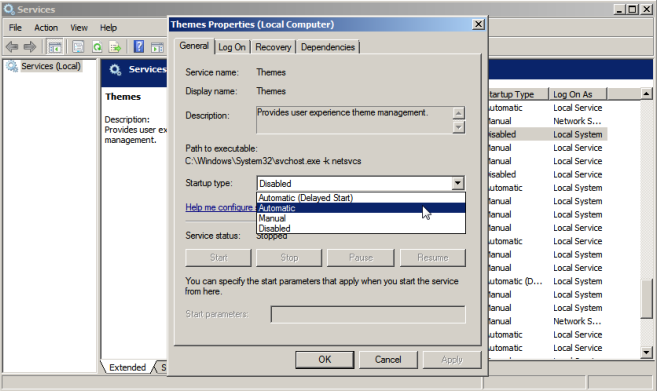
Under Services window, click Themes and choose Properties.
From Properties, select Automatic from the General tab and click Ok. We have to do this because the themes, by default, are disabled.
Right-click on Themes again and select Start. This will allow you to enable Aero on Server 2008.
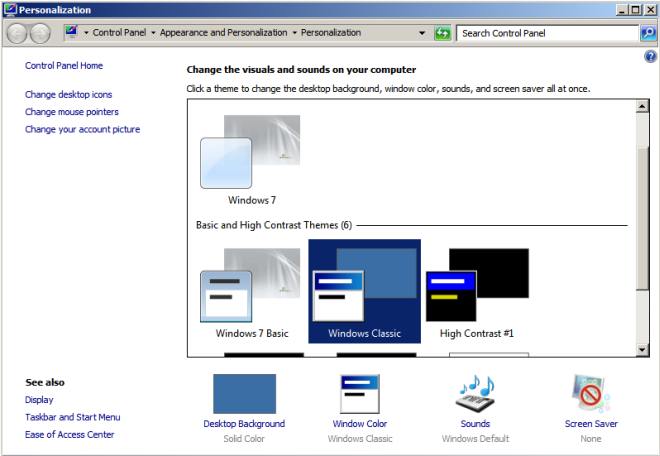
Right-click on the desktop and choose Personalization. Then select Windows 7 theme from the top of the menu (Note: do not select the Windows 7 basic theme if you want to get the Aero Glass effect).
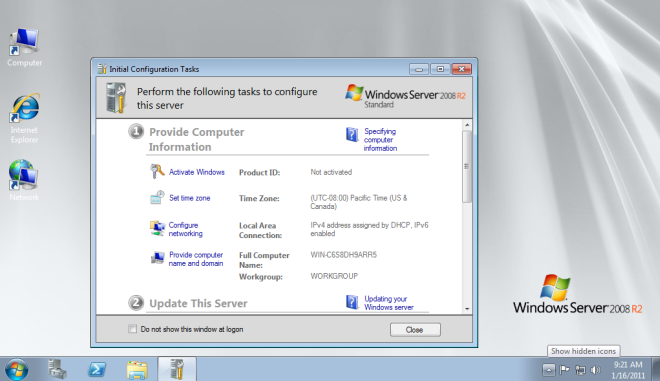
This will enable the Aero Glass effect on your Windows Server 2008 R2. The same procedure can be applied for activating Aero in Server 2008 x86 (32 bit) version, however, unlike R2, it will allow you to enable the Vista style theme.
SOURCE | LINK | LANGUAGE | ENGLISH |
